No items match the current conditions.
- Moderately increases Poison Damage and Poison Resistance.
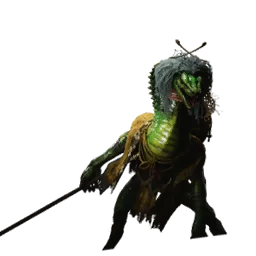
Take the form of Guangmou. Call forth snakes to spit venom upon foes and inflict Poison Damage. The snakes will slither away once their venom is depleted.
- Equipped Effect
- Slightly increase Poison attack and Poison resistance.
- The 1–6th form technique Qi consumes (see chart)
- 211.84/195.42/170.79/170.79/129.72/129.72
- Moderately reduces the Stamina cost for Jumps and Jump Attacks.
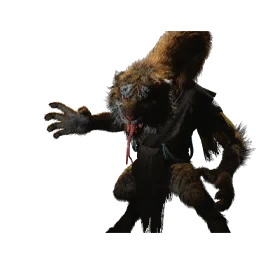
Take the form of Baw-Li-Guhh-Lang. Stick out your tongue to lash at foes from afar. Though soft, a tongue can still inflict great Damage.
- Equipped Effect
- Slightly reduce the consumption of Stamina for jumps and jump attacks.
- The 1–6th form technique Qi consumes (see chart)
- 211.84/195.42/170.79/170.79/129.72/129.72
- Considerably increases Defense.
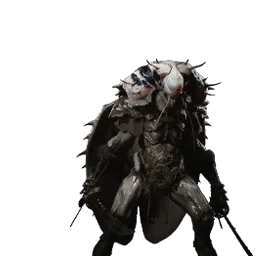
Take the form of Wandering Wight. Bow with utmost devotion and ram the foe with your bronze skull, dealing massive Damage.
- Equipped Effect
- Increase Defense.
- The 1–6th form technique Qi consumes (see chart)
- 211.84/195.42/170.79/170.79/129.72/129.72
- Moderately increases Thunder Damage.
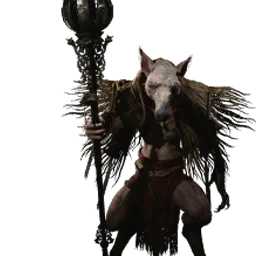
Take the form of Rat Governor. Leap up with your staff, and shoot lightning from its tip to strike at foes, dealing Thunder Damage.
- Equipped Effect
- Slightly increase Thunder attack.
- The 1–6th form technique Qi consumes (see chart)
- 64.87/58.97/51.9/51.9/43.24/43.24
- Moderately increases Maximum Mana.
Take the form of Gore-Eye Daoist, who wields a staff topped with a toad whose eyes emit a crimson glow. Stay within the glow and your attack will be enhanced. The staff vanishes on its own after a while.
- Equipped Effect
- Slightly increase Maximum Mana.
- The 1–6th form technique Qi consumes (see chart)
- 205.25/197.04/184.72/184.72/164.19/164.19
- Moderately increases Critical Damage.
Take the form of Tiger's Acolyte. Draw near the foe in a flash and hack them with a sword, dealing a single instance of Damage.
- Equipped Effect
- Moderately increases Critical Hit Damage.
- The 1–6th form technique Qi consumes (see chart)
- 103.79/92.67/79.84/79.84/64.86/64.86
- Recovers a moderate amount of Stamina when being hit.
Take the form of Non-Void. Stride back in a sweep and turn into a waving after-image, intangible and invincible to foes.
- Equipped Effect
- Restore a little Stamina on being hit
- The 1–6th form technique Qi consumes (see chart)
- 10.38/9.68/8.8/8.8/7.63/7.63
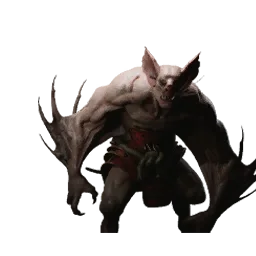
Take the form of Apramāṇa Bat. Leap into the air to evade attacks, then send forth two freezing gusts to deal Frost Damage; the target can be frozen in place if their Frost gauge is maxed.
- Equipped Effect
- No Carry Bonus.
- The 1–6th form technique Qi consumes (see chart)
- 211.84/195.42/170.79/170.79/129.72/129.72
How to Obtain
When first arriving at North Shore of the Bitter Lake, walk along the shore to the snake's skull. Trigger the event while Zhu Bajie is still with you. After passing Chapter Three, obtain Apramāṇa BatSpirit.
- Moderately increases Damage Reduction for a short duration after performing Rock Solid.
Take the form of Non-Pure. Brandish a monk's spade back and forth, striking foes repeatedly to cleanse all evil.
- Equipped Effect
- After casting Rock Solid, slightly increase damage reduction for a short time.
- The 1–6th form technique Qi consumes (see chart)
- 103.79/92.67/79.84/79.84/64.86/64.86
- Moderately increases Poison and Frost Damage.
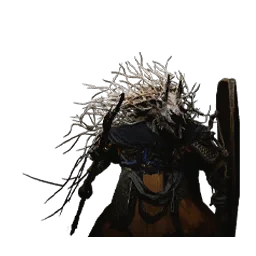
Take the form of Non-White. Spin and leap to draw near the target in a flash and sprout thorns all over the body to stab them.
- Equipped Effect
- Slightly increases Poison and Frost attack
- The 1–6th form technique Qi consumes (see chart)
- 103.79/92.67/79.84/79.84/64.86/64.86
- Slightly increases Attack, Critical Hit Chance, and Critical Damage, but massively reduces Maximum Mana.
Take the form of Non-Able. Let loose a flurry of punches and kicks. Different phases of Light Attack enable different moves.
- Equipped Effect
- Slightly increase attack power, Critical Hit Chance, and Critical Hit Damage, significantly reduce Maximum Mana.
- The 1–6th form technique Qi consumes (see chart)
- 22.56/20.93/18.87/18.87/16.22/16.22
- Moderately increases Poison Resistance.
Take the form of Beetle Commander. Spin the twin blades to hack at the target. The spinning edges pulse, striking all nearby foes and dealing area Damage once.
- Equipped Effect
- Moderately increases of Poison Resistance.
- The 1–6th form technique Qi consumes (see chart)
- 103.79/92.67/79.84/79.84/64.86/64.86
- Considerably reduces the Mana cost for A Pluck of Many.
Take the form of Puppet Tick. Shake your staff and screech to summon small Stone Spiders to bite the foes. When the spiders perish, their venom bursts out, poisoning those nearby.
- Equipped Effect
- Reduce the Mana consumption of A Pluck of Many.
- The 1–6th form technique Qi consumes (see chart)
- 205.25/197.04/184.72/184.72/164.19/164.19
- Slowly recovers a small amount of Health.
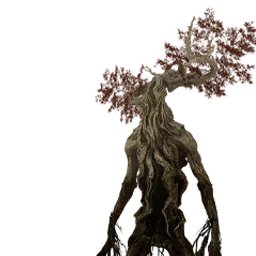
Take the form of a tree. Absorb the essence of nature to recover Health continuously. The healing effect is enhanced when in water.
- Equipped Effect
- Slowly recover some health.
- The 1–6th form technique Qi consumes (see chart)
- 211.84/195.42/170.79/170.79/129.72/129.72
- Moderately increases Poison Damage.
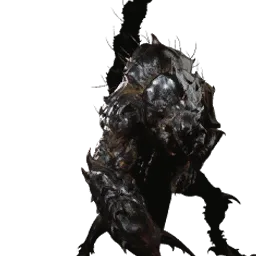
Take the form of a Scorpion Guai. Fling your tail to pierce through foes and inject venom into the ground to deal Poison Damage in a small area. Foes standing within the area take more Damage.
- Equipped Effect
- Slightly increase Poison attack.
- The 1–6th form technique Qi consumes (see chart)
- 103.79/92.67/79.84/79.84/64.86/64.86
- Slightly increases Movement Speed.
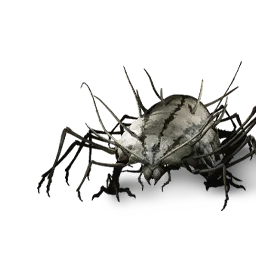
Take the form of Centipede Guai. Curl your body into a giant ball and collide with nearby foes.
- Equipped Effect
- Slightly increase movement speed.
- The 1–6th form technique Qi consumes (see chart)
- 103.79/92.67/79.84/79.84/64.86/64.86
- Significantly increases Defense, but moderately reduces Attack.
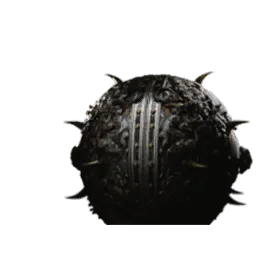
Take the form of Bottom Takes Top and Top Takes Bottom, then combine into an iron ball that bounces up and slams down, striking foes thrice in a row.
- Equipped Effect
- Moderately increases Defense, slightly decreases attack power
- The 1–6th form technique Qi consumes (see chart)
- 211.84/195.42/170.79/170.79/129.72/129.72
- Slightly increases Critical Hit Chance and Critical Damage.
Take the form of Father of Stones. Release two powerful roars that shake and damage surrounding foes.
- Equipped Effect
- Slightly increases Critical Hit Chance and Critical Damage.
- The 1–6th form technique Qi consumes (see chart)
- 103.79/92.67/79.84/79.84/64.86/64.86
- Moderately increases Damage Reduction for a short duration after being hit.
Transform into Earth Rakshasa, heavily strike the ground with the shield, dealing damage to nearby opponents, then set down the heavy shield to block attacks
- Equipped Effect
- Slightly increases damage reduction for a short time after being hit
- The 1–6th form technique Qi consumes (see chart)
- 103.79/92.67/79.84/79.84/64.86/64.86
- Moderately increase Damage dealt by Heavy Attacks that cost 3 or 4 Focus Points.
Take the form of Turtle Treasure. Ride a mallet upside-down, igniting the powder within to soar skywards. Upon landing, crush the foe to the ground and shatter their bones.
- Equipped Effect
- Slightly increase the damage of the third and fourth heavy staff strikes.
- The 1–6th form technique Qi consumes (see chart)
- 103.79/92.67/79.84/79.84/64.86/64.86
How to Obtain
From Valley Entrance, proceed forward, turn right down to the lava area, defeat the Turtle Treasure near the chest to obtain Spirit.
- Slightly increases Four Banes Resistance.
Take the form of a solid black rock upon the foe's strike to deflect them.
- Equipped Effect
- Slightly increases Four Banes Resistance.
- The 1–6th form technique Qi consumes (see chart)
- 103.79/92.67/79.84/79.84/64.86/64.86
- Moderately increases Scorch Damage and Burn Resistance.
Take the form of Flint Vanguard. Pummel the foe with stone fists, each strike stacking Scorch Bane. If the foe is ignited, they will also suffer Burn Damage over time.
- Equipped Effect
- Slightly increase Scorch attack and Scorch resistance.
- The 1–6th form technique Qi consumes (see chart)
- 205.25/197.04/184.72/184.72/164.19/164.19
- Slightly increases Critical Hit Chance when in Poisoned state.
Take the form of Elder Amourworm. Spray venom from the tail to form poisonous pools on the ground, stacking Poison Bane on foes who tread upon them.
- Equipped Effect
- While in Poison state, slightly increase Critical Hit Chance.
- The 1–6th form technique Qi consumes (see chart)
- 205.25/197.04/184.72/184.72/164.19/164.19
How to Obtain
Pass through the treasure room with The Verdure Bridge, enter the chamber behind the room to defeat Elder Amourworm. Bring the original body to Zodiac Village and give it to Chen Loong, feed Rice Cocoons three times, then collect Spirit.
- Moderately reduces the Cooldown for all Spells.
Take the form of Mother of Flamlings. Summon Flamlings to aid in battle, breathing fire that burns the surrounding foes.
- Equipped Effect
- Slightly shorten the cooldown time of all spells.
- The 1–6th form technique Qi consumes (see chart)
- 211.84/195.42/170.79/170.79/129.72/129.72
- Moderately increases the Maximum Health of summoned minions.
Take the form of Old Ginseng Guai. Take root to call forth one or more Ginsenglings that strike at the foe.
- Equipped Effect
- Slightly increase the Maximum Health of summoned creatures.
- The 1–6th form technique Qi consumes (see chart)
- 205.25/197.04/184.72/184.72/164.19/164.19
- Considerably increases Maximum Health, but moderately reduces Maximum Stamina.
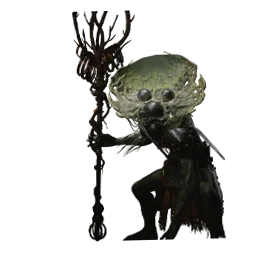
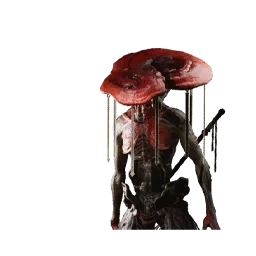
Take the form of Fungiwoman. Drift through the air with a mushroom cap and release spores. Upon landing, crash into the foe as the spores rain down to track and strike them. Spores that hit the foe can return and recover Health.
- Equipped Effect
- Increases Maximum Health, slightly reduces Maximum Stamina
- The 1–6th form technique Qi consumes (see chart)
- 211.84/195.42/170.79/170.79/129.72/129.72
- Moderately increases the recovery speed of Might.
Take the form of Fungiman. Wield a staff that spins like a wheel to charge into the foe and nearby yaoguais.
- Equipped Effect
- Slightly increase recovery speed of divine strength.
- The 1–6th form technique Qi consumes (see chart)
- 211.84/195.42/170.79/170.79/129.72/129.72
- Slightly increases Critical Hit Chance.
Take the form of Wolf Assassin. Throw out knives that claim lives from a distance.
- Equipped Effect
- Slightly increases Critical Hit Chance.
- The 1–6th form technique Qi consumes (see chart)
- 64.87/58.97/51.9/51.9/43.24/43.24
- Moderately increases Attack, but massively reduces Maximum Health.
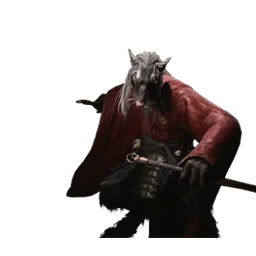
Take the form of Mad Tiger. Roar with terrifying might to shock surrounding foes and deal area Damage to the front.
- Equipped Effect
- Slightly increases attack power, significantly reduces Maximum Health
- The 1–6th form technique Qi consumes (see chart)
- 211.84/195.42/170.79/170.79/129.72/129.72
- Moderately increases Attack when at low Health.
Take the form of the Second Rat Prince. Leap with a mace to bash the foe's head. This can stagger the foe for a moment.
- Equipped Effect
- Slightly increase attack power when health is low.
- The 1–6th form technique Qi consumes (see chart)
- 211.84/195.42/170.79/170.79/129.72/129.72
- Moderately increases Focus granted from Perfect Dodges.
Take the form of Rat Imperial Guard. Nimbly circle the target, slicing them when they least expect it.
- Equipped Effect
- Gain a small amount of Focus when Perfect Dodge succeeds
- The 1–6th form technique Qi consumes (see chart)
- 64.87/58.97/51.9/51.9/43.24/43.24
- Slightly increases Damage Reduction.
Take the form of Spearbone. Ward off attacks with the tiger shield and repel foes. Then, bash at enemies repeatedly and smash the ground with the shield to shake foes within range.
- Equipped Effect
- Slightly increases Damage Reduction.
- The 1–6th form technique Qi consumes (see chart)
- 103.79/92.67/79.84/79.84/64.86/64.86
- Slightly increases Attack.
Take the form of Civet Sergeant. Juggle twin blades and hurl them at the foe's chest. Once striken, the foe shall suffer the agony of a pierced heart.
- Equipped Effect
- Slightly Increases Attack Power
- The 1–6th form technique Qi consumes (see chart)
- 64.87/58.97/51.9/51.9/43.24/43.24
- Moderately increases Stamina recovery.
Take the form of Swift Bat. Unfurl your wings and stir up gravel to strike oncoming foes.
- Equipped Effect
- Slightly increase the recovery speed of Stamina.
- The 1–6th form technique Qi consumes (see chart)
- 64.87/58.97/51.9/51.9/43.24/43.24
- Moderately increases the Damage of Jump Light Attacks and reduces the Stamina cost of Sprinting.
Take the form of Poisestone. Leap up and kick the foe in the chest. Even if the kick misses, the following slam on the ground can damage nearby foes with the impact.
- Equipped Effect
- Slightly increase the jumping light attack damage, and slightly reduce the stamina cost for sprinting Stamina.
- The 1–6th form technique Qi consumes (see chart)
- 47.18/43.25/38.44/38.44/32.43/32.43
- Moderately reduces the Stamina cost for Staff spin.
Take the form of Rat Archer. Load and shoot arrows several times in succession, dealing damage multiple times.
- Equipped Effect
- Slightly reduce the Stamina consumption of the staff flowers.
- The 1–6th form technique Qi consumes (see chart)
- 103.79/92.67/79.84/79.84/64.86/64.86
- Grants a small amount of additional Focus on hit.
Take the form of Earth Wolf. Recklessly charge straight at the foe to make them stumble.
- Equipped Effect
- Gain a small amount of Focus on critical hits.
- The 1–6th form technique Qi consumes (see chart)
- 211.84/195.42/170.79/170.79/129.72/129.72
- Moderately increases Frost Damage.
Take the form of Falcon Hermit. Summon a gust of wind that deals Frost Damage multiple times along its path, or freezes enemies in place with repeated hits.
- Equipped Effect
- Slightly increase Frost attack.
- The 1–6th form technique Qi consumes (see chart)
- 103.79/92.67/79.84/79.84/64.86/64.86
- Moderately increases Heavy Attack Damage.
Take the form of Red-Haired Yaksha. Shoot an arrow imbued with exceptional power at the foe. This can stagger them for a moment.
- Equipped Effect
- Slightly increase heavy staff damage.
- The 1–6th form technique Qi consumes (see chart)
- 103.79/92.67/79.84/79.84/64.86/64.86
- Moderately increases Attack for a short duration after defeating an enemy.
Take the form of Blade Monk. Swing your great blade twice before cleaving forcefully downward upon your foe.
- Equipped Effect
- Slightly increase attack power for a short time after killing
- The 1–6th form technique Qi consumes (see chart)
- 103.79/92.67/79.84/79.84/64.86/64.86
- Moderately increases Burn Resistance.
Take the form of Clay Vajra. Spew flames from your knees as you take great strides. The flames twist with each step and burn surrounding foes.
- Equipped Effect
- Moderately increases Burn Resistance.
- The 1–6th form technique Qi consumes (see chart)
- 64.87/58.97/51.9/51.9/43.24/43.24
- Grants a moderate amount of Focus when hit.
Take the form of Enslaved Yaksha. Swing a long blade to stab the foe in the heart. This can stagger them for a moment.
- Equipped Effect
- Gain a little Focus on being hit
- The 1–6th form technique Qi consumes (see chart)
- 103.79/92.67/79.84/79.84/64.86/64.86
- Slightly increases Critical Hit Chance of Jump Heavy Attacks.
Take the form of Mountain Patroller. Leap up and let a flurry of slashes rain down. This bout of recklessness is sure to deter the foe.
- Equipped Effect
- Slightly increase the Critical Hit Chance of the jump strike.
- The 1–6th form technique Qi consumes (see chart)
- 64.87/58.97/51.9/51.9/43.24/43.24
- Moderately increases Chill Resistance.
Take the form of Crow Diviner. Scatter a field of Frigid Dust from an incense burner, stacking Frost Bane on both you and your foes.
- Equipped Effect
- Moderately increases Chill Resistance.
- The 1–6th form technique Qi consumes (see chart)
- 64.87/58.97/51.9/51.9/43.24/43.24
- Moderately increases Maximum Stamina.
Take the form of Beetle Captain. Soar into the air to evade attacks, then dive down to hack at the foe upon landing.
- Equipped Effect
- Slightly increase Maximum Stamina.
- The 1–6th form technique Qi consumes (see chart)
- 64.87/58.97/51.9/51.9/43.24/43.24
- Slightly increases Qi gained from hits, but significantly reduces Maximum Health, Mana, and Stamina.
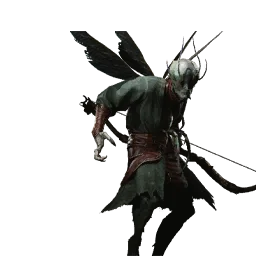
Take the form of Dragonfly Guai. Draw your bow and shoot Poison arrows at surrounding foes.
- Equipped Effect
- On hit, gain a littleQi, which reduces more health, Mana andMaximum Stamina.
- The 1–6th form technique Qi consumes (see chart)
- 64.87/58.97/51.9/51.9/43.24/43.24
- Moderately slows the decay of Might.
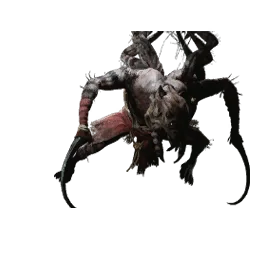
Take the form of Puppet Spider. Claw at the foe with fangs repeatedly.
- Equipped Effect
- Slightly reduces the Might consumed to maintain a transformation.
- The 1–6th form technique Qi consumes (see chart)
- 64.87/58.97/51.9/51.9/43.24/43.24
- Moderately increases Attack, but considerably reduces Defense.
Take the form of Snake Sheriff. Extend the neck to roar skyward, shaking all nearby yaoguais with powerful voice.
- Equipped Effect
- Slightly increases Attack and reduces Defense.
- The 1–6th form technique Qi consumes (see chart)
- 47.18/43.25/38.44/38.44/32.43/32.43
- Recovers a small amount of Health when taking Medicines.
Take the form of Snake Herbalist. Smash venom on the ground from the herb basket to form poisonous pools. Foes that step into the pools will stack Poison Bane.
- Equipped Effect
- Restore a small amount of health when consuming elixirs.
- The 1–6th form technique Qi consumes (see chart)
- 64.87/58.97/51.9/51.9/43.24/43.24
- Moderately increases the Will gained.
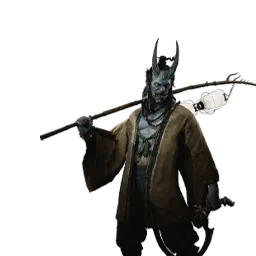
Take the form of Lantern Holder. Wave the lantern to summon will-o'-the-wisps that chase after the foe.
- Equipped Effect
- Gain slightly more Will from defeating enemies.
- The 1–6th form technique Qi consumes (see chart)
- 103.79/92.67/79.84/79.84/64.86/64.86
- Moderately increases charging speed.
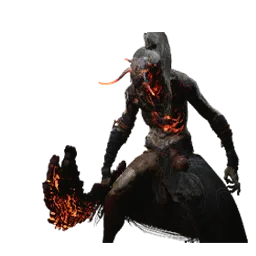
Take the form of Charface. Smash lava-forged blade on the ground, causing magma to burst out and damage surrounding foes.
- Equipped Effect
- Slightly increases the speed of accumulating Focus during charge-up
- The 1–6th form technique Qi consumes (see chart)
- 64.87/58.97/51.9/51.9/43.24/43.24
- Moderately increases Scorch Damage.
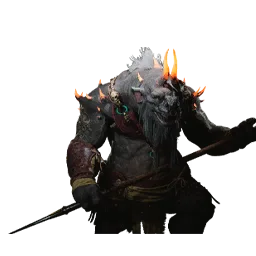
Take the form of Bull Governor. Charge towards the foe and cleave with a great halberd, thrusting it into the ground to deal Scorch Damage on hit.
- Equipped Effect
- Slightly increase Scorch attack.
- The 1–6th form technique Qi consumes (see chart)
- 211.84/195.42/170.79/170.79/129.72/129.72
How to Obtain
From theRakshasa Palace, take the main road, go up the stairs over the bridge, then turn right to find the large bull demon holding weapons.
- Moderately reduces the Mana cost of Cloud Step.
Take the form of Misty Cloud and wield an incense bunch to whip the foe. Then, take the form of Cloudy Mist and unleash three beams of light to bash them.
- Equipped Effect
- Slightly reduce the Mana cost for Cloud Step.
- The 1–6th form technique Qi consumes (see chart)
- 211.84/195.42/170.79/170.79/129.72/129.72
- Moderately reduces the Mana cost of Mysticism Spells.
Take the form of Nine-Capped Lingzhi Guai. Wearing the Earth Spirit Cap, with every tread, lingzhi shall sprout and explode, dealing Poison Damage to nearby foes.
- Equipped Effect
- Slightly reduce the Mana cost for Mysticism.
- The 1–6th form technique Qi consumes (see chart)
- 103.79/92.67/79.84/79.84/64.86/64.86